


How to Organize and Store Your Scrapbooking Supplies ?
If you love scrapbooking, you probably know how quickly your craft table can turn into a colorful chaos of papers, tapes, stickers, and tiny embellishments. The more you create, the more treasures you collect — and before long, finding that one perfect sticker can feel like a scavenger hunt!
Keeping your supplies organized not only saves time but also makes crafting more inspiring. Here are some simple, practical, and creative ways to organize and store your scrapbooking supplies beautifully.
🗂️ 1. Sort by Category or Theme
Start by sorting everything into clear categories:
-
Stickers (floral, vintage, seasonal, etc.)
-
Tapes (washi, PET, glitter, lace)
-
Decorative Papers (solid, patterned, watercolor, textured)
-
Tools (scissors, trimmers, stamps, glue pens)
You can also organize by theme — like “Christmas,” “travel,” “botanical,” or “vintage” — so when you start a new project, you can grab exactly what you need in one go.
📦 2. Use Transparent Storage Boxes
Clear boxes or drawers make it easy to see what’s inside. Stackable acrylic containers work perfectly for stickers and tapes. Label each one so you don’t have to open every box to find what you’re looking for.
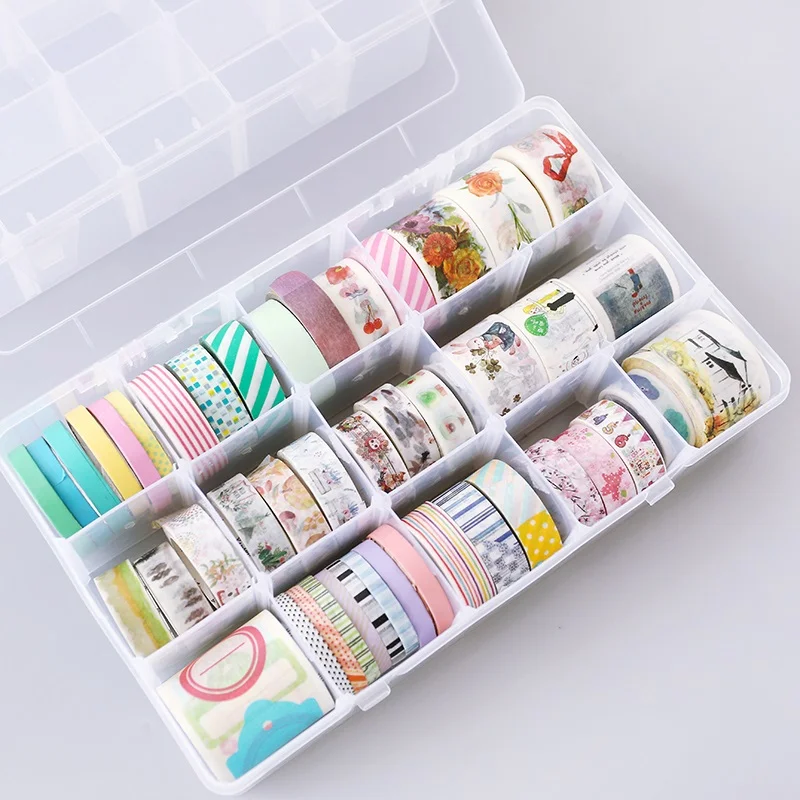
💡 Tip: For smaller embellishments, use compartmentalized boxes — like those for jewelry or beads — to keep items neat and visible.
🎨 3. Keep Tapes Neatly Rolled
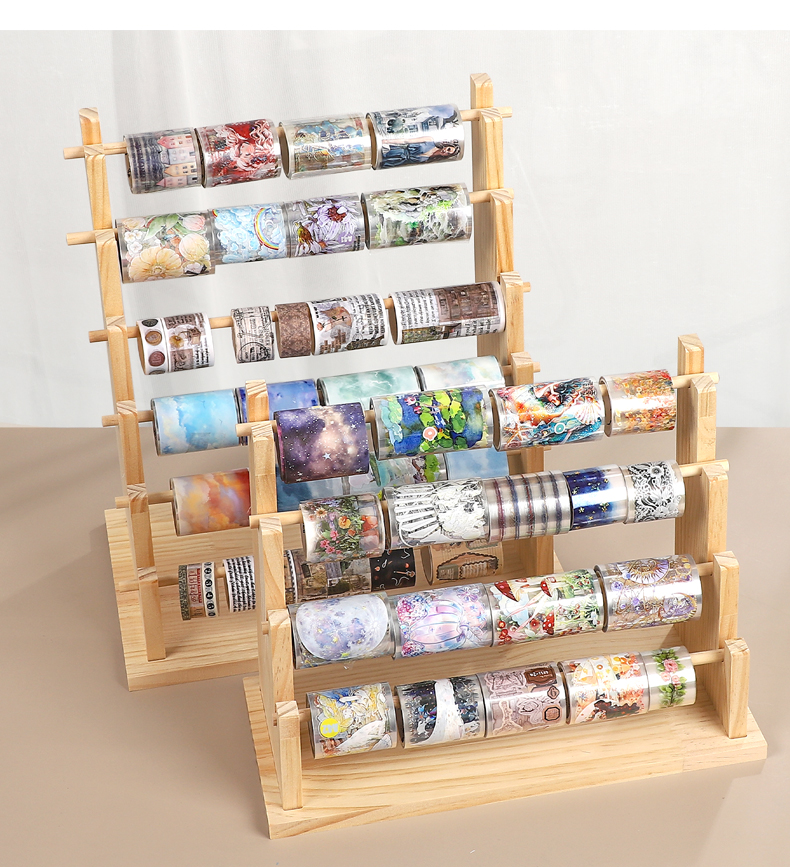
Washi and PET tapes can quickly become messy if not stored properly. Try using:
-
A tape organizer stand or spool rack for easy access
-
Transparent tape drawers for a clean, color-sorted look
-
Or a reel box if you like to take your favorite designs on the go
🪞 4. File Decorative Papers Like Art
Treat your beautiful papers like artwork! Store them in clear sleeves, accordion folders, or large binders. Sort by color or pattern — for example, keep your vintage papers together, and separate watercolor or floral designs for easy browsing.
✂️ 5. Create a “Daily Use” Craft Box
If you often journal or scrapbook at your desk, keep a small box of essentials nearby — your favorite scissors, glue, tapes, and go-to stickers. This helps you stay productive without digging through your full collection each time.
🌸 6. Reuse and Decorate Containers
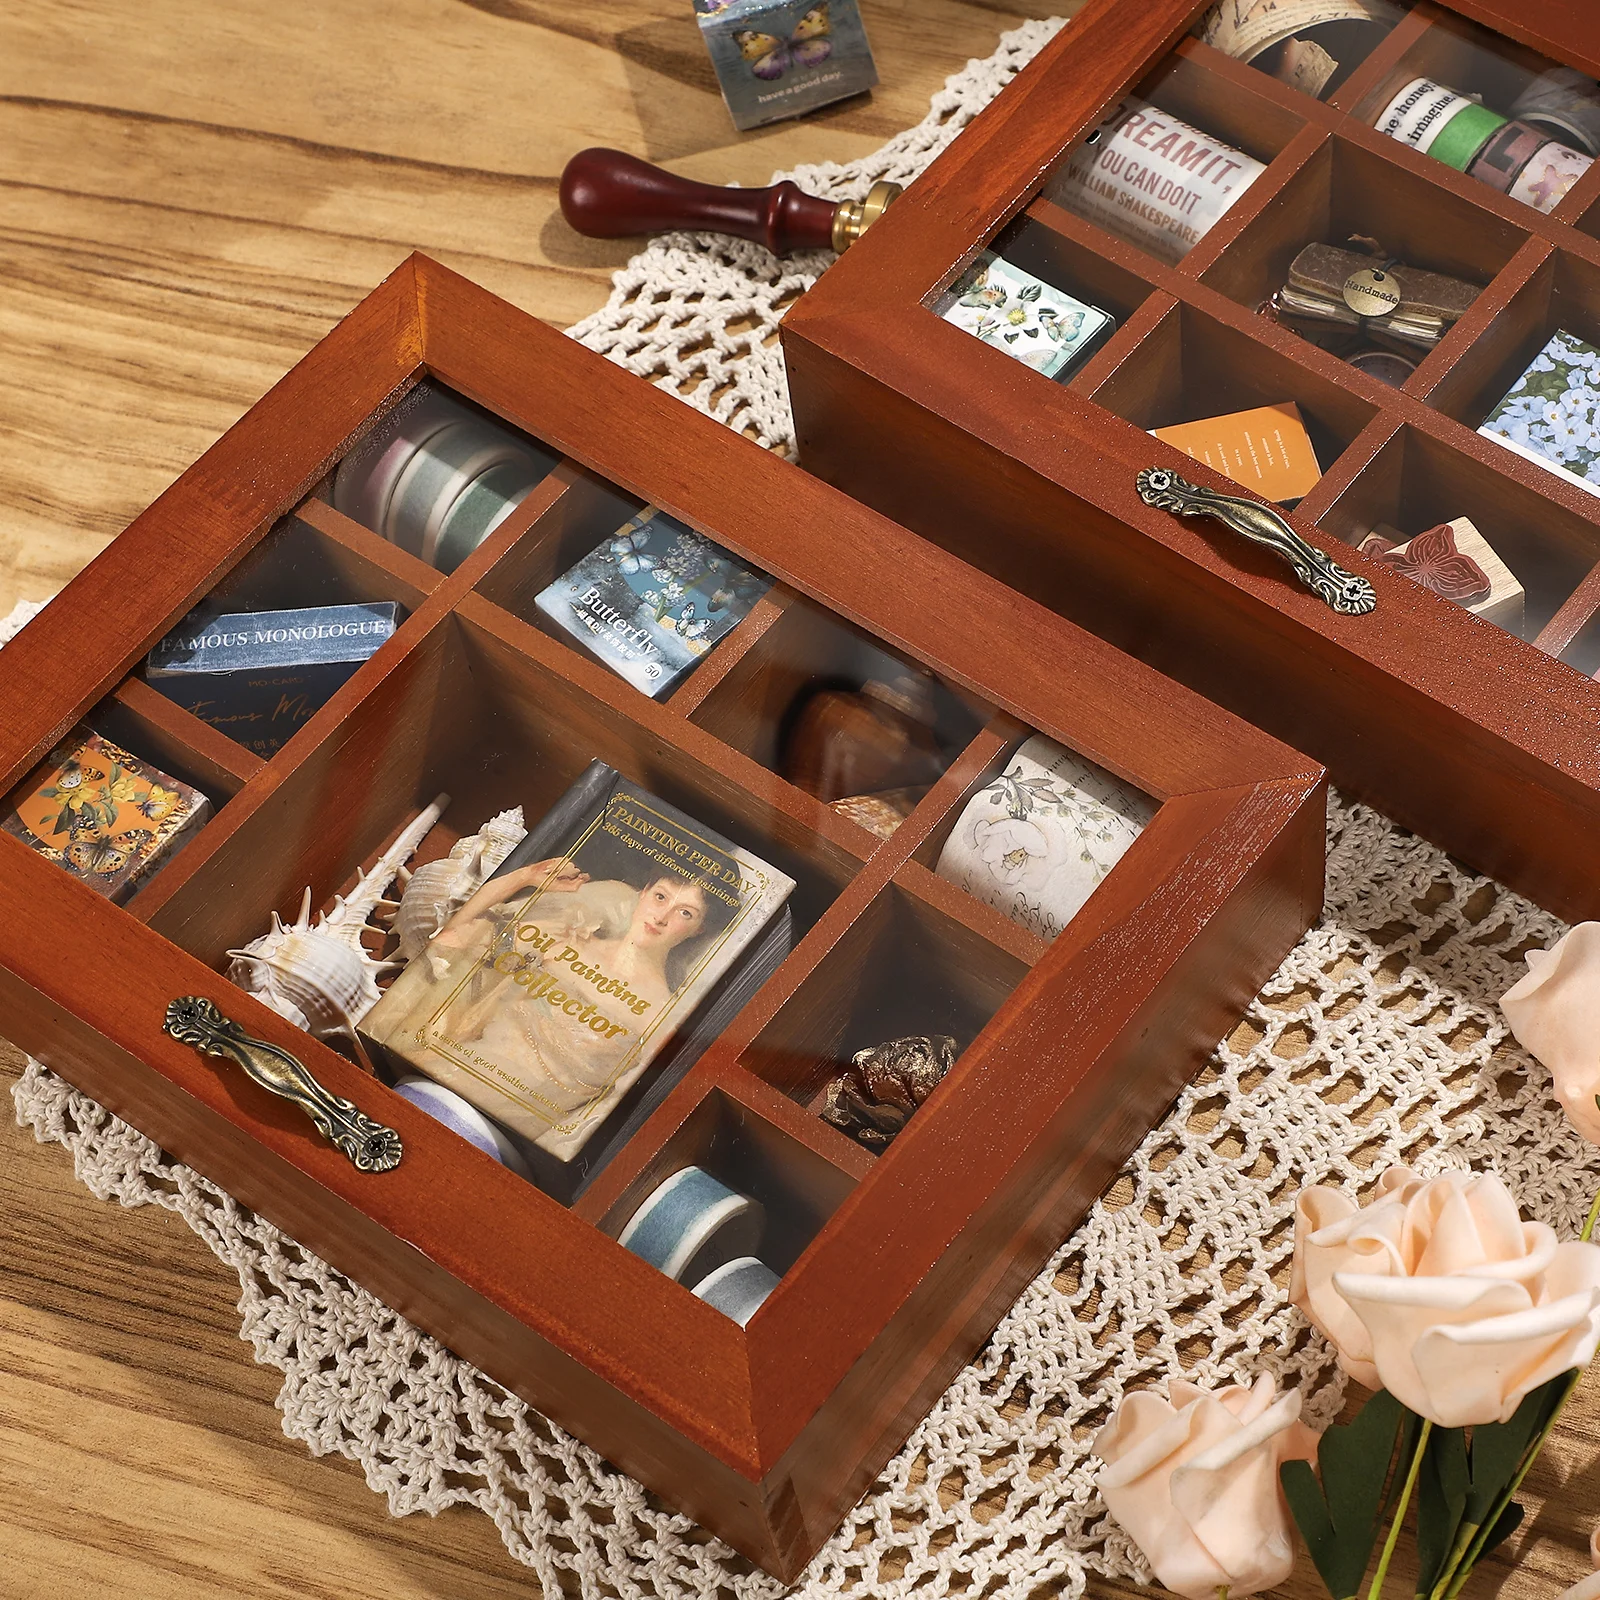
Storage doesn’t have to be boring! Repurpose candle jars, small tins, or pretty boxes to hold washi tape, tags, or ephemera. Add labels or decorate the lids — turning organization itself into a fun creative project.
🪄 7. Digitalize Inspiration and Extras
Sometimes we collect more ideas than materials — screenshots, photos, or journaling layouts. Save them digitally in folders or on Pinterest boards. Keeping your inspiration organized will help you plan future pages more efficiently.
🌟 A Tidy Space Sparks Creativity
An organized craft space is more than neat shelves — it’s a clear mind for creative flow. When every sticker, tape, and paper has its place, you’ll spend less time searching and more time creating pages you love.
So take a quiet afternoon, play your favorite playlist, and enjoy the process of turning your workspace into a haven of inspiration. Your next beautiful scrapbook spread begins with a clean, organized desk.